2016 Interior Design Trends - WOW

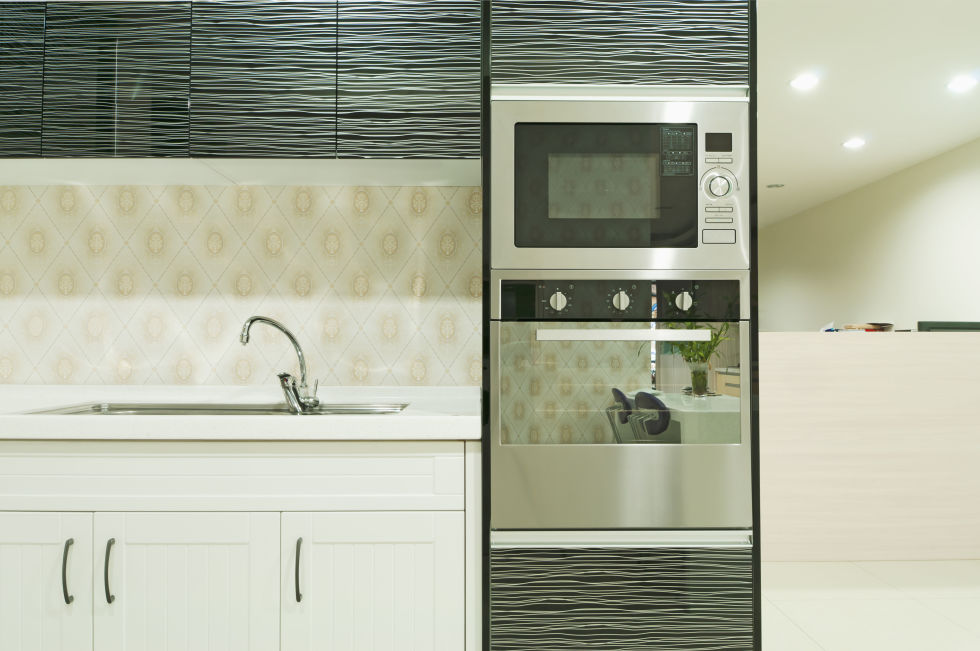
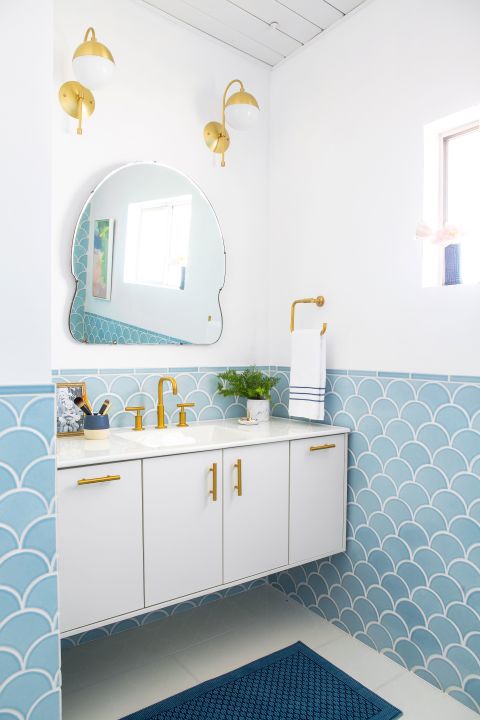
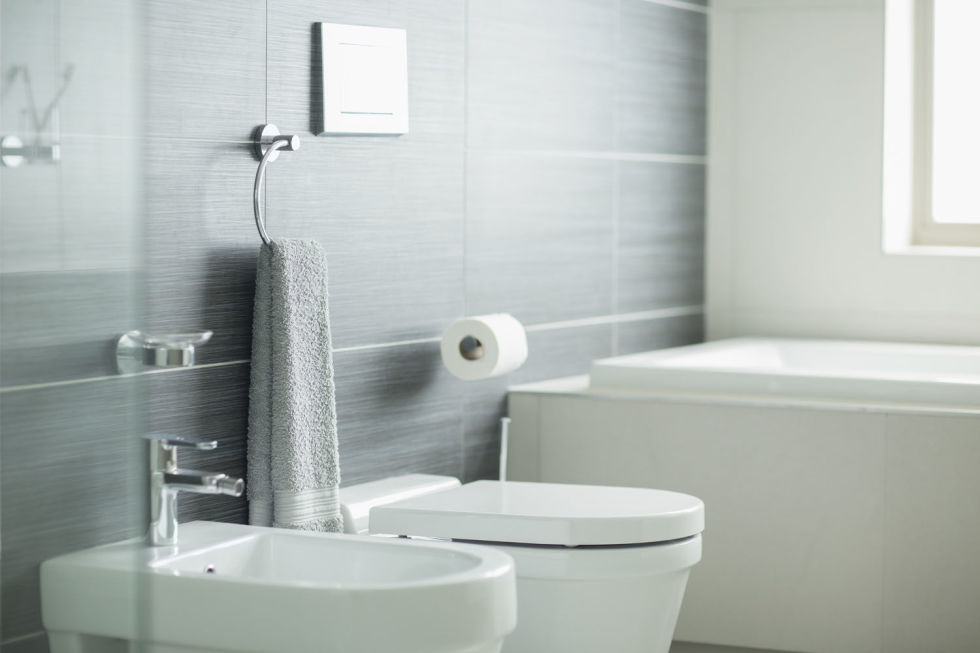
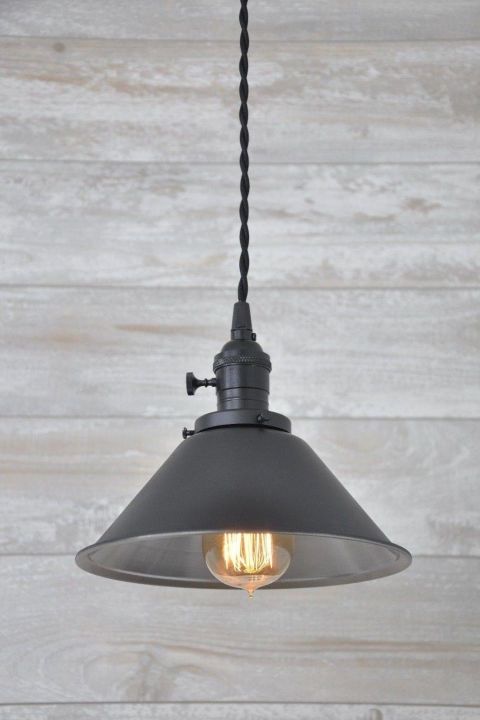
2016 Has shown us some pretty awesome interior design trends. Take a look at the list below courtesy of ELLE Decor!
 

6 Things Everyone Should Do When Moving Into a New House

new home.jpg

Skip potential trouble by doing these 6 things.

When I bought my first house, my timing couldn’t have been better: The house closing was two weeks before the lease was up on my apartment. That meant I could take my time packing and moving, and I could get to know the new place before moving in.

I recruited family and friends to help me move (in exchange for a beer-and-pizza picnic on the floor) and, as a bonus, I got to pick their brains about what first-time homeowners should know.

Their help was one of the best housewarming presents I could have gotten. And thanks to their expertise and a little Googling, here’s what I learned about what to do before moving in.

1. Change the Locks

You really don’t know who else has keys to your home, so change the locks. That ensures you’re the only person who has access. Install new deadbolts yourself for as little as $10 per lock, or call a locksmith — if you supply the new locks, they typically charge about $20 to $30 per lock for labor.


2. Check for Plumbing Leaks

Your home inspector should do this for you before closing, but it never hurts to double-check. I didn’t have any plumbing leaks to fix, but when checking my kitchen sink, I did discover the sink sprayer was broken. I replaced it for under $20.

Keep an eye out for dripping faucets and running toilets, and check your water heater for signs of a leak.

Here’s a neat trick: Check your water meter at the beginning and end of a two-hour window in which no water is being used in your house. If the reading is different, you have a leak.


3. Steam Clean Carpets

Do this before you move your furniture in, and your new home life will be off to a fresh start. You can pay a professional carpet cleaning service — you’ll pay about $50 per room; most services require a minimum of about $100 before they’ll come out — or you can rent a steam cleaner for about $30 per day and do the work yourself. I was able to save some money by borrowing a steam cleaner from a friend.  


4. Wipe Out Your Cabinets

Another no-brainer before you move in your dishes and bathroom supplies. Make sure to wipe inside and out, preferably with a non-toxic cleaner, and replace contact paper if necessary.

When I cleaned my kitchen cabinets, I found an unpleasant surprise: Mouse poop. Which leads me to my next tip …

5. Give Critters the Heave-Ho

That includes mice, rats, bats, termites, roaches, and any other uninvited guests. There are any number of DIY ways to get rid of pests, but if you need to bring out the big guns, an initial visit from a pest removal service will run you $100 to $300, followed by monthly or quarterly visits at about $50 each time.

For my mousy enemies, I strategically placed poison packets around the kitchen, and I haven’t found any carcasses or any more poop, so the droppings I found must have been old. I might owe a debt of gratitude to the snake that lives under my back deck, but I prefer not to think about him.


6. Introduce Yourself to Your Circuit Breaker Box and Main Water Valve

My first experience with electrical wiring was replacing a broken light fixture in a bathroom. After locating the breaker box, which is in my garage, I turned off the power to that bathroom so I wouldn’t electrocute myself.

It’s a good idea to figure out which fuses control what parts of your house and label them accordingly. This will take two people: One to stand in the room where the power is supposed to go off, the other to trip the fuses and yell, “Did that work? How about now?”


You’ll want to know how to turn off your main water valve if you have a plumbing emergency, if a hurricane or tornado is headed your way, or if you’re going out of town. Just locate the valve — it could be inside or outside your house — and turn the knob until it’s off. Test it by turning on any faucet in the house; no water should come out.


The 8 Most Financially Savvy Home Improvements

Enjoy your home more today — and sell it for the best price tomorrow.

When it comes to home improvement, some dollars stretch more than others. And if you’re on a limited budget, it becomes even more important to spend those dollars wisely. 

Here are eight affordable (under $5,000) home improvement projects that’ll help you enjoy your home more today and provide excellent financial return in the future.

1. Add the Finishing Touch of Molding

Decorative molding is a classic touch that’s been around since the ancient Greeks and Romans first installed it to add grandeur to their buildings.  Centuries later, molding is still one of the most dramatic ways to dress up a room. It’s a budget-friendly improvement that trims a room for a finished and expensive look.

Today’s wood moldings come in hundreds of options — from simple to ornate — that you can stain, paint, or leave natural. You can also find moldings in flexible materials, such as foam, that make installation a whole lot easier. Some moldings even include lighting that casts a soft, ambient glow.  

Buyers consistently rank both crown molding and chair railing in their list of most desirable decorative features they seek in a home (#3 and #7 respectively), according to the annual National Association of Home Builders (NAHB) survey, “What Home Buyers Really Want.”

And at $1.50 per foot if you DIY it, or $8 per foot if you hire, it’s a no-brainer in terms of personalizing your home while adding value. (Although we don’t recommend DIY unless you’ve got above-par mitering skills.)

A few tips about molding:

Use crown molding to make a room seem bigger and taller. But be careful about proportions. If your ceiling height is 9 feet or less, go with simpler styles to avoid overwhelming the room.

Place a chair railing at one-third the distance of the ceiling height. Chair railing placed incorrectly can make a room seem out of proportion.

Don’t forget entryways, doors, and windows: Bump up the trim around these areas to give rooms a completed and expensive feel.

2. Install Quality Ceiling Fans

If crown molding and chair railing were #3 and #7 on buyers’ decorative wish lists, what was #1? 

Ceiling fans. 

Over the years, ceiling fans have become quite the crowd pleaser. Once they were just a cheap solution to rising energy costs — ugly, wobbly, noisy eyesores endured because they were cheaper than air conditioning.

Today, ceiling fans have evolved into an essential component of American homes as energy prices continue to rise. And since designs have caught up with the times, they come in a variety of styles and colors to complement any room.  If your ceiling fans are old and outdated, new ones (coupled with a fresh paint job and crown molding) could give your rooms a refreshing update while saving money.

Some tips about ceiling fans:

  • Ceiling fans should hang 7 to 8 feet above the floor. If you’ve got a low ceiling, buy a hugger ceiling fan that’s flush-mounted.
  • Size matters more than the number of fan blades. Go for the biggest Energy Star-rated fan that will fit the space.
  • Choose quality. You’ll get better cooling results, less noise, and good looks at a digestible price point of $200 to $600.

3. Plant Some Trees

Say what? Adding trees doesn’t instantly pop into your head when you think of adding value to your home. But trees are moneymakers that get better with age.

A mature tree could be worth between $1,000 to $10,000, says the Council of Tree and Landscape Appraisers. A 16-inch silver maple could be worth $2,562, according to a formula worked out by the Purdue University Cooperative Extension Service.

In urban areas, money really does grow on trees. A recent study of home sales by the Pacific Northwest Research Station of Portland showed that street trees growing in front of or near a house boosted its sale price by an average of $8,870 and shaved two days off its time on the market. 

There’s more. Trees also:

  • Save $100 to $250 annually in energy costs
  • Lower stress
  • Prevent erosion from downpours and roof runoff
  • Protect your home from wind, rain, and sun

But don’t just run out and plant trees willy-nilly. Here are some tips:

Follow the sun. Plant shade trees on the south side of the house where the sun beats strongest and longest.

Follow the wind. Plant windbreak trees, which can lower winter energy costs by 30%, on the north and northwest sides of your property.

Don’t plant too close. If you do, branches can scrape roofs and siding, causing expensive damage.

Rule of thumb: Don’t plant trees any closer than the tree’s mature height plus one-fourth of that height. So, for example, if a tree reaches 40 feet, it should be planted at least 50 feet from any other trees.

4. Install a Patio   

Patios are a great cost-effective way to increase your home’s living space without actually adding on. Plus you’ll recover 30% to 60% of your investment. A $2,000 patio would return around $900 at resale. 

But don’t go crazy and trick out your patio with high-end amenities, like an outdoor kitchen — especially if you’d be the only one on the block with one. When it’s time to sell, you won’t get back much — if any — of your investment on kitchens and other high-end amenities. Instead, keep it simple and functional. (And, really, how often would you use an outdoor kitchen?)

Some wise advice when planning a patio:

  • Check property for slope, sun, and shade patterns.
  • Remember ‘dig alerts’ that utilities provide free of charge.
  • Don’t skimp on patio lighting. It can make all the difference in functionality and beautification.

5. Pump Up Your Home Security

The peace of mind that comes with installing a home security system is priceless.

In reality, price varies. You can buy and install it yourself for $50 to $300, or a security company can sell and install a system from $0 to $1,500. The “zero” is the hook companies use to lure you into signing a multi-year monitoring contract that ranges from $95 to $480 per year. 

If a monitored system suits your needs, you’ll also get a break on your home insurance. Most companies will discount your annual rate 15% to 20% if you have a security service.

Home security systems also make your home more marketable: 50% of homebuyers (in the NAHB survey) say a home security system — particularly security cameras — tops their list of most-wanted technology features.

You can go over the top and install high-tech security gadgets, like smartphone-operated locks and a laser trip wire. Or you can keep it simple with a keypad that communicates with sensors and motion detectors throughout your house. 

Tips:

  • If you do decide to go with a monitoring system, choose a company with a 10-year track record to ensure reliability.
  • Don’t rely on any system as your sole means of security. Locking doors and windows is still your best first-line of defense.

6. Do Almost Any Energy-Efficient Upgrade

The value of energy-efficient houses just keeps going up and up. A UCLA study examined the sales prices of 1.6 million California homes from 2007 to 2012 and found that homes with Energy Star, LEED, or GreenPoint certification had, on average, a 9% higher price. 

That finding is echoed in NAHB’s report that surveyed homebuyers across the nation: Nine out of 10 potential buyers would select an efficient home with lower utility bills over a less efficient home priced 2% to 3% less.

One energy-saving home improvement project that not only saves energy but gives you tons of enjoyment, too, is converting a wood-burning fireplace into a gas one. If you like to crunch energy numbers, gas fireplaces have energy-efficient ratings as high as 77%, compared with wood-burning fireplaces that convert only 15% of wood’s energy into useful heat. 

In fact, 39% of homebuyers say a gas fireplace is an essential or desirable feature of the next home they purchase. So when it comes time to sell your home, more than one-third of potential buyers will be looking for a gas fireplace.

In the meantime, it’ll be paying for itself in reduced heating costs.

Some tips for converting to gas:

  • A direct-vent gas insert most closely replicates the wood-burning experience at a cost of about $3,000 to $4,000, installed.
  • If you don’t have an existing fireplace, you can install a direct-vent (vents directly outside so you don’t need a chimney) gas fireplace for about $5,000 (installed and finished).

7. Add Some Creative Storage

We don’t have to sell you on the value of storage and built-in organization. Since when have you heard someone complain about too much storage? Never, we bet. 

Adding storage is a no-brainer, but it does take a little brainpower to find your home’s hidden storage. 

Here are a few ways to think outside of the toy box:

  • Open drywall to create storage cubbies between your wall’s studs.
  • Install platform storage that hangs from your garage ceiling.
  • Even stairs can give you more storage. One clever mom repurposed an old chest of drawers and created storage within a basement staircase.

8. Light Up the Outdoors

Exterior lighting makes your home shine in the evening, accents features you like most about your house, and helps keep burglars away. A hard-wired lighting fixture can cost $150 to $250 to install. On the plus side, you could get a 50% return on your investment, says Judith Patriski, a Cleveland appraiser and REALTOR®. Installing motion-detecting lights can even lower some homeowners’ insurance premiums. (Check with your agent.)

And with technological advances in solar lighting, it’s easier and more cost-effective than ever to boost your home’s nighttime curb appeal.

Plus, 90% of buyers say outdoor lighting is on their list of desired home features. 

Tips:

  • Place accent lights under your favorite trees to show off your landscaping’s top earners.
  • If your lights are hard-wired, put them on a timer so you don’t waste energy running them during the day.
  • Choose a warm white light. It’ll make your home look and feel welcoming.


What Not to Do as a New Homeowner


Avoid these easy-to-prevent mistakes that could cost you big time

We know so well the thrill of owning your own house — but don’t let the excitement cause you to overlook the basics. We’ve gathered up a half dozen classic boo-boos new homeowners often commit — and give you some insight on why each is critically important to avoid.

1. Not Knowing Where the Main Water Shutoff Valve Is

Water from a burst or broken plumbing pipe can spew dozens of gallons into your home’s interior in a matter of minutes, soaking everything in sight — including drywall, flooring, and valuables. In fact, water damage is one of the most common of all household insurance claims.

Quick-twitch reaction is needed to stave off a major bummer. Before disaster hits, find your water shutoff valve, which will be located where a water main enters your house. Make sure everyone knows where it’s located and how to close the valve. A little penetrating oil on the valve stem makes sure it’ll work when you need it to.

2. Not Calling 811 Before Digging a Hole

Ah, spring! You’re so ready to dig into your new yard and plant bushes and build that fence. But don’t — not until you’ve dialed 811, the national dig-safely hotline. The hotline will contact all your local utilities who will then come to your property — often within a day — to mark the location of underground pipes, cables, and wires.

This free service keeps you safe and helps avoid costly repairs. In many states, calling 811 is the law, so you’ll also avoid fines.

3. Not Checking the Slope of Foundation Soil

The ground around your foundation should slope away from your house at least 6 inches over 10 feet. Why? To make sure that water from rain and melting snow doesn’t soak the soil around your foundation walls, building up pressure that can cause leaks and crack your foundation, leading to mega-expensive repairs.

This kind of water damage doesn’t happen overnight — it’s accumulative — so the sooner you get after it, the better (and smarter) you’ll be. While you’re at it, make sure downspouts extend at least 5 feet away from your house.

4. Not Knowing the Depth of Attic Insulation

This goes hand-in-hand with not knowing where your attic access is located, so let’s start there. Find the ceiling hatch, typically a square area framed with molding in a hallway or closet ceiling. Push the hatch cover straight up. Get a ladder and check out the depth of the insulation. If you can see the tops of joists, you definitely don’t have enough.

The recommended insulation for most attics is about R-38 or 10 to 14 inches deep, depending on the type of insulation you choose. BTW, is your hatch insulated, too? Use 4-inch-thick foam board glued to the top.

5. Carelessly Drilling into Walls

Hanging shelves, closet systems, and artwork means drilling into your walls — but do you know what’s back there? Hidden inside your walls are plumbing pipes, ductwork, wires, and cables.

You can check for some stuff with a stud sensor — a $25 battery-operated tool that detects changes in density to sniff out studs, cables, and ducts.

But stud sensors aren’t foolproof. Protect yourself by drilling only 1¼ inches deep max — enough to clear drywall and plaster but not deep enough to reach most wires and pipes.

Household wiring runs horizontally from outlet to outlet about 8 inches to 2 feet from the floor, so that’s a no-drill zone. Stay clear of vertical locations above and below wall switches — wiring runs along studs to reach switches.

6. Cutting Down a Tree

The risk isn’t worth it. Even small trees can fall awkwardly, damaging your house, property, or your neighbor’s property. In some locales, you have to obtain a permit first. Cutting down a tree is an art that’s best left to a professional tree service.

Plus, trees help preserve property values and provide shade that cuts energy bills. So think twice before going all Paul Bunyan.


Article Credits: House LogicJohn Riha